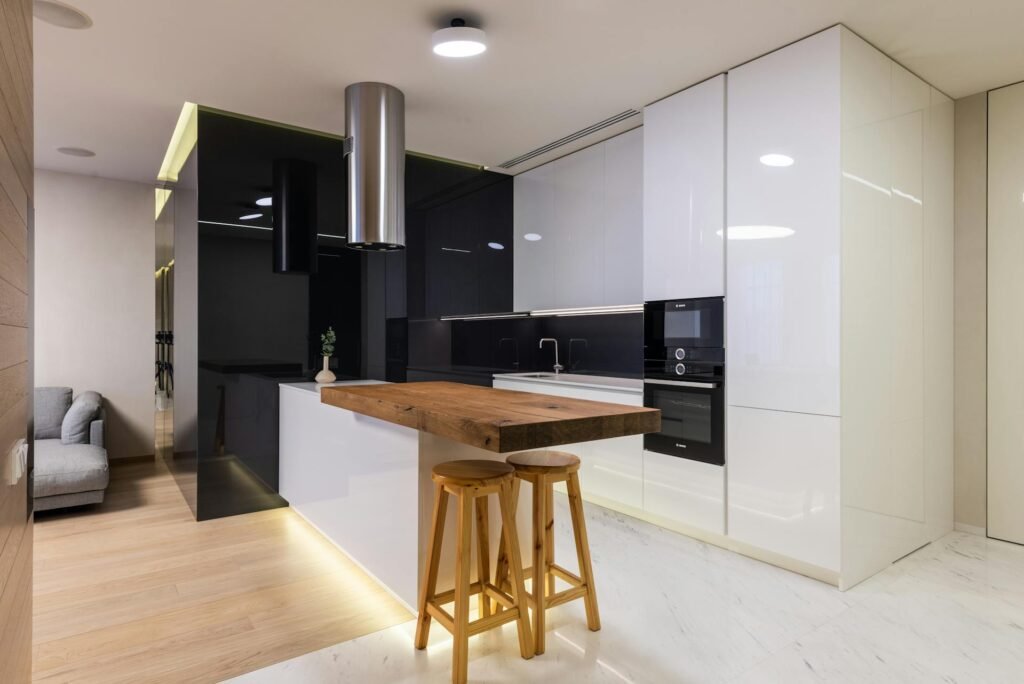
How to make custom kitchen cabinets? If you’re considering a kitchen renovation, this is one of those questions you’re bound to ask yourself somewhere along the way. You don’t want the bland finishes of modular cabinets, but you also know how much custom kitchen cabinets cost. So, you decide to get handy and build your own kitchen cabinets.
While this is a challenging task that not everyone can manage, if done correctly, DIY custom kitchen cabinets can give you one hell of a bang for your buck. They offer complete control over design, size, and style, letting you create a space that fits your home perfectly. But they also require careful planning, precise measurements, and quality materials. So, where do you start? How to make custom kitchen cabinets?
The answer is right on this blog. In this custom kitchen cabinets guide, we’ll tell you how to build your own custom kitchen cabinets in 8 simple steps and give you a DIY-cabinet checklist to have on you at all times. Without further ado, let’s get to it!
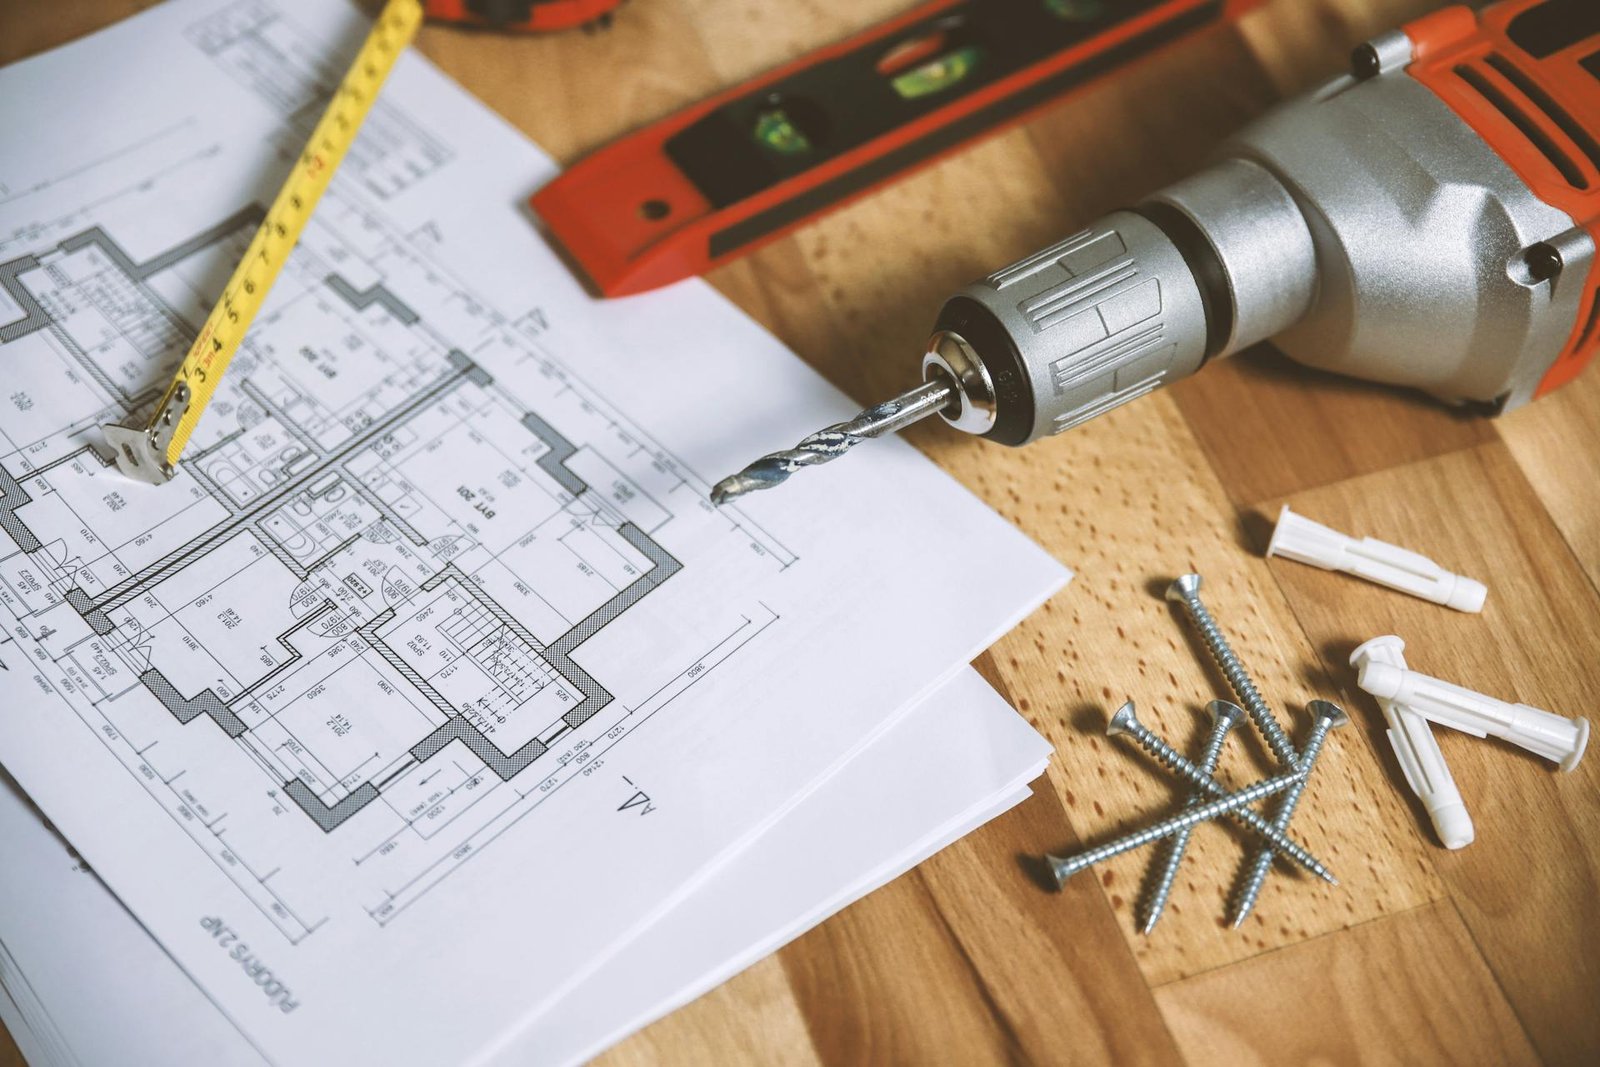
Step 1: Plan Your Cabinet Design
To get started on making your own custom cabinets, you have to start with the logistics. Your first step to building your own kitchen cabinets is to get accurate kitchen measurements, including wall length, ceiling height, and appliance dimensions. Then, decide on which cabinet type best suits your needs. During this stage, you need to consider your storage needs, such as deep drawers for pots or slim racks for spices.
You should also sketch out your kitchen cabinet layout to visualise how doors, drawers, and shelves will be arranged. Consider your regular kitchen workflow while picking the layout , and then you can start to build your own kitchen cabinet. Just make sure to place your cabinets in a way that’ll make cooking and cleaning more efficient. Another important factor to consider is the obstructors in your kitchen. This could be anything from plumbing to electrical outlets and vents that may affect placement.

Eventually, you could get help from a cabinet design software or hand-sketch your design on graph paper to ensure the aesthetic aspect matches your taste and get accurate blueprints.
Step 2: Choose Your Materials
This is where your kitchen cabinet journey starts to take a significant turn from IKEA kitchen designs that, albeit offering trendy kitchen designs, don’t last as long. The material you choose for your custom kitchen cabinets is often a super determining factor in the longevity of the finished look.
Additionally, the material covers a good chunk of how much you pay for custom kitchen cabinets. Still, they do pay off in quality and durability. So, don’t be shy and opt for hardwood like maple, oak, or birch for a premium finish. Plywood is an excellent choice for cabinet boxes thanks to its strength and resistance to warping.
You could also use MDF for painted doors and panels, offering a smooth surface for finishing. Another option is particle board, which is budget-friendly, but not as durable in high-moisture areas like Melbourne.

After you pick your kitchen cabinet material, also make sure to select hardware materials (hinges, handles, sliders) that match your design vision and last for years. Last but not least, finishing materials (paint, stain, varnish) depend on your desired look, so pick carefully.
Step 3: Gather the Right Tools
Before understanding the logistics of how to make custom kitchen cabinets, you should learn how to use the right tools.
Start by gathering your equipment, and remember, safety is always first! The very first pieces you need to reach for are gloves, goggles, and dust masks to make sure you’re protected at all times.
Then, you can get to the good part. For measuring tools, a basic toolkit includes a measuring tape, a square, and a level to ensure a precise and perfect finish. Then, you can sort out your cutting tools. Depending on your current kitchen layout and the cabinet design you have in mind, you might need a circular saw, table saw, jigsaw, and more, especially if you’re going for wood.
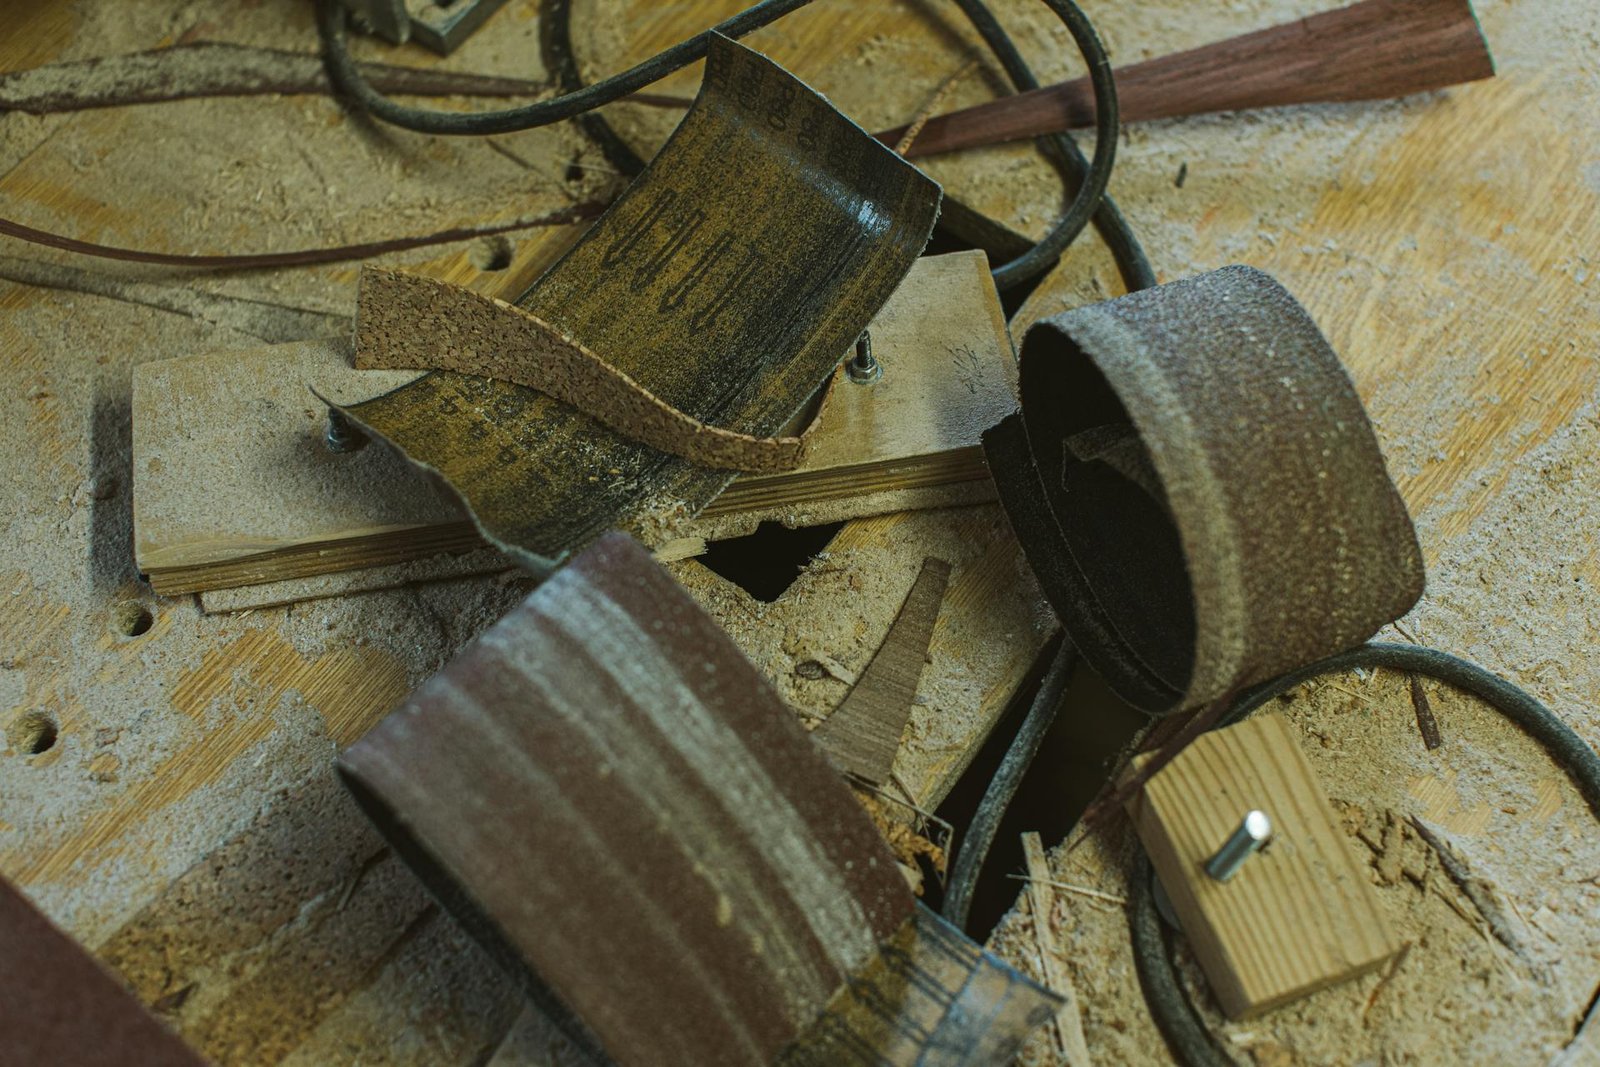
You’ll also need drilling tools like a cordless drill, countersink bits, and a driver set to help you with assembling the boxes and attaching hardware. While you’re at it, pick some clamps to hold pieces in place while you’re fastening or gluing them. For a smooth, clean finish, you’ll also need sanding tools, such as an orbital sander or sandpaper.
Step 4: Build the Cabinet Boxes
The process of knowing how to make custom kitchen cabinets now officially starts here. Start by carefully cutting all panels, including sides, bottoms, tops, and backs. Cut to the exact dimensions specified in your design plans. Precision is key here, as even small inaccuracies can throw off the entire assembly. Once your pieces are cut, begin assembling the cabinet box by securely attaching the sides, bottom, and back panels. You can use screws for a strong hold or dowels for a cleaner, fastener-free look. For extra durability, reinforce the corners with wood glue and metal brackets.
Next, install shelves based on your storage needs, and opt for adjustable shelf pins if you want flexibility in shelf height. Before finalising the assembly, double-check that each cabinet box is perfectly square by measuring the diagonals (they should be equal). If they’re off, adjust the frame before tightening all fasteners. Finally, to build custom kitchen cabinets, lightly sand any rough edges to ensure a smooth surface, which will make staining or painting much easier later on. Taking the time to assemble each box carefully now will save you headaches during the cabinet installation process.
Step 5: Make and Attach Doors
This is where things begin getting a bit more exciting. To finalize custom kitchen creation, start by choosing your desired cabinet door style. This could be anything from sleek slabs to classic shakers and elegant raised panels. Once you’ve settled on a look, carefully measure and cut your door panels or frames to match your cabinet box dimensions. If you’re going with shaker-style doors, you’ll need to cut the rails (horizontal pieces) and stiles (vertical pieces), before fitting the center panel into the frame.
After assembling the doors, sand all edges thoroughly to eliminate any rough spots or splinters. This will make staining or painting much smoother. When attaching hinges, position them carefully to ensure the doors open and close effortlessly and that everything is seamlessly aligned. If they don’t sit flush or swing unevenly, make small adjustments to the hinges until everything lines up perfectly.
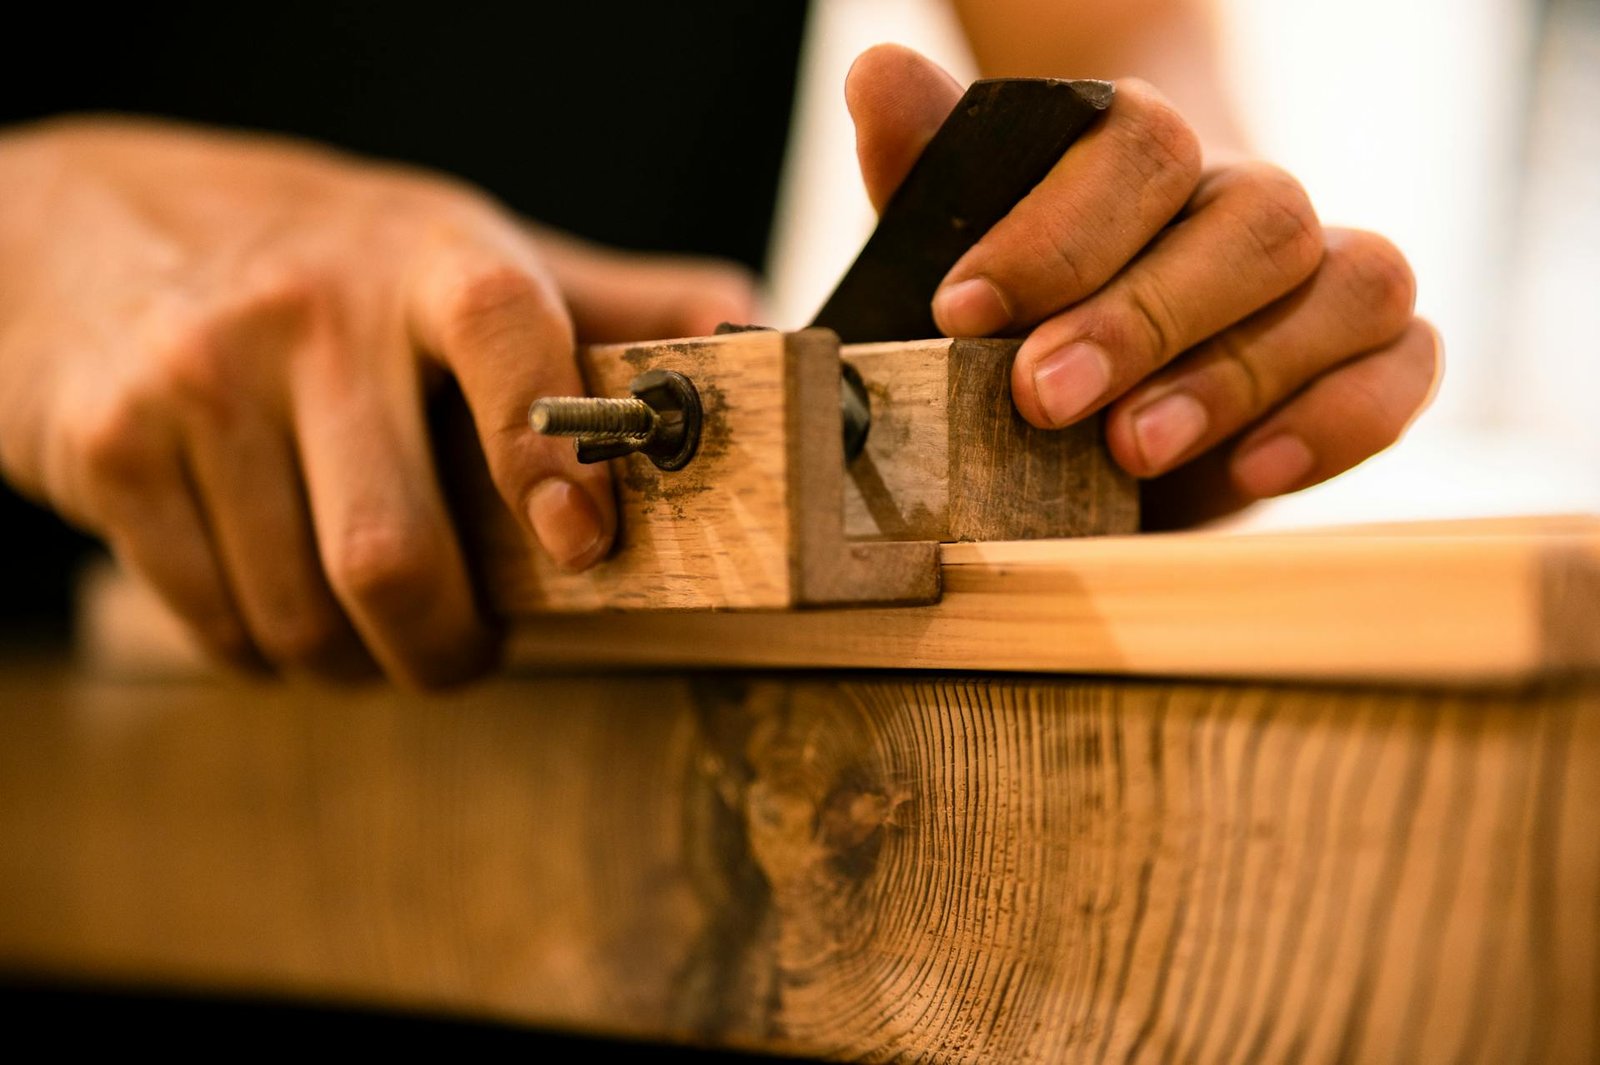
Step 6: Sand and Finish
Sanding is the final process of building custom kitchen cabinets. Begin with coarse-grit sandpaper (around 80-100 grit) to remove any rough spots, imperfections, or old finish. Once the surface feels even, gradually work your way up to finer grits (150-220 grit) for a silky-smooth texture. Always sand in the direction of the wood grain to avoid scratches.
After sanding, wipe away all dust with a tack cloth or a damp rag. Any leftover debris can ruin your finish. If you want to showcase the wood’s natural beauty, apply a clear varnish, lacquer, or wood oil. These finishes enhance the grain while protecting the surface from moisture and wear.
For painted cabinets, a high-quality primer is essential. It helps the paint stick better and prevents stains or tannins from bleeding through. Once primed, apply paint in thin, even coats using a brush, roller, or sprayer for a factory-like finish. Thick coats can drip or dry unevenly, so patience is key.
Allow each layer to dry completely (check the manufacturer’s recommended time) before lightly sanding with fine-grit paper (320+ grit) to smooth out any imperfections. Repeat the process for additional coats until you achieve full, rich coverage.
Step 7: Install Your Cabinets
Before you start hanging your cabinets, grab a stud finder and mark where the studs are to avoid your cabinets from hanging halfway from the wall later on. Once you’ve got your layout planned, it’s usually easiest to install the upper cabinets first. That way, you’re not awkwardly reaching over base cabinets while also trying to hold things in place. As you mount each one, keep a level handy to make sure everything’s perfectly straight.
When securing the cabinets, use heavy-duty screws that can handle the weight, as drywall anchors won’t cut it here. Once they’re all up, take the time to connect any side-by-side cabinets together so they look like one seamless unit. And if you spot any gaps between the cabinets and the wall, just use a little trim or filler strip to cover it right up.
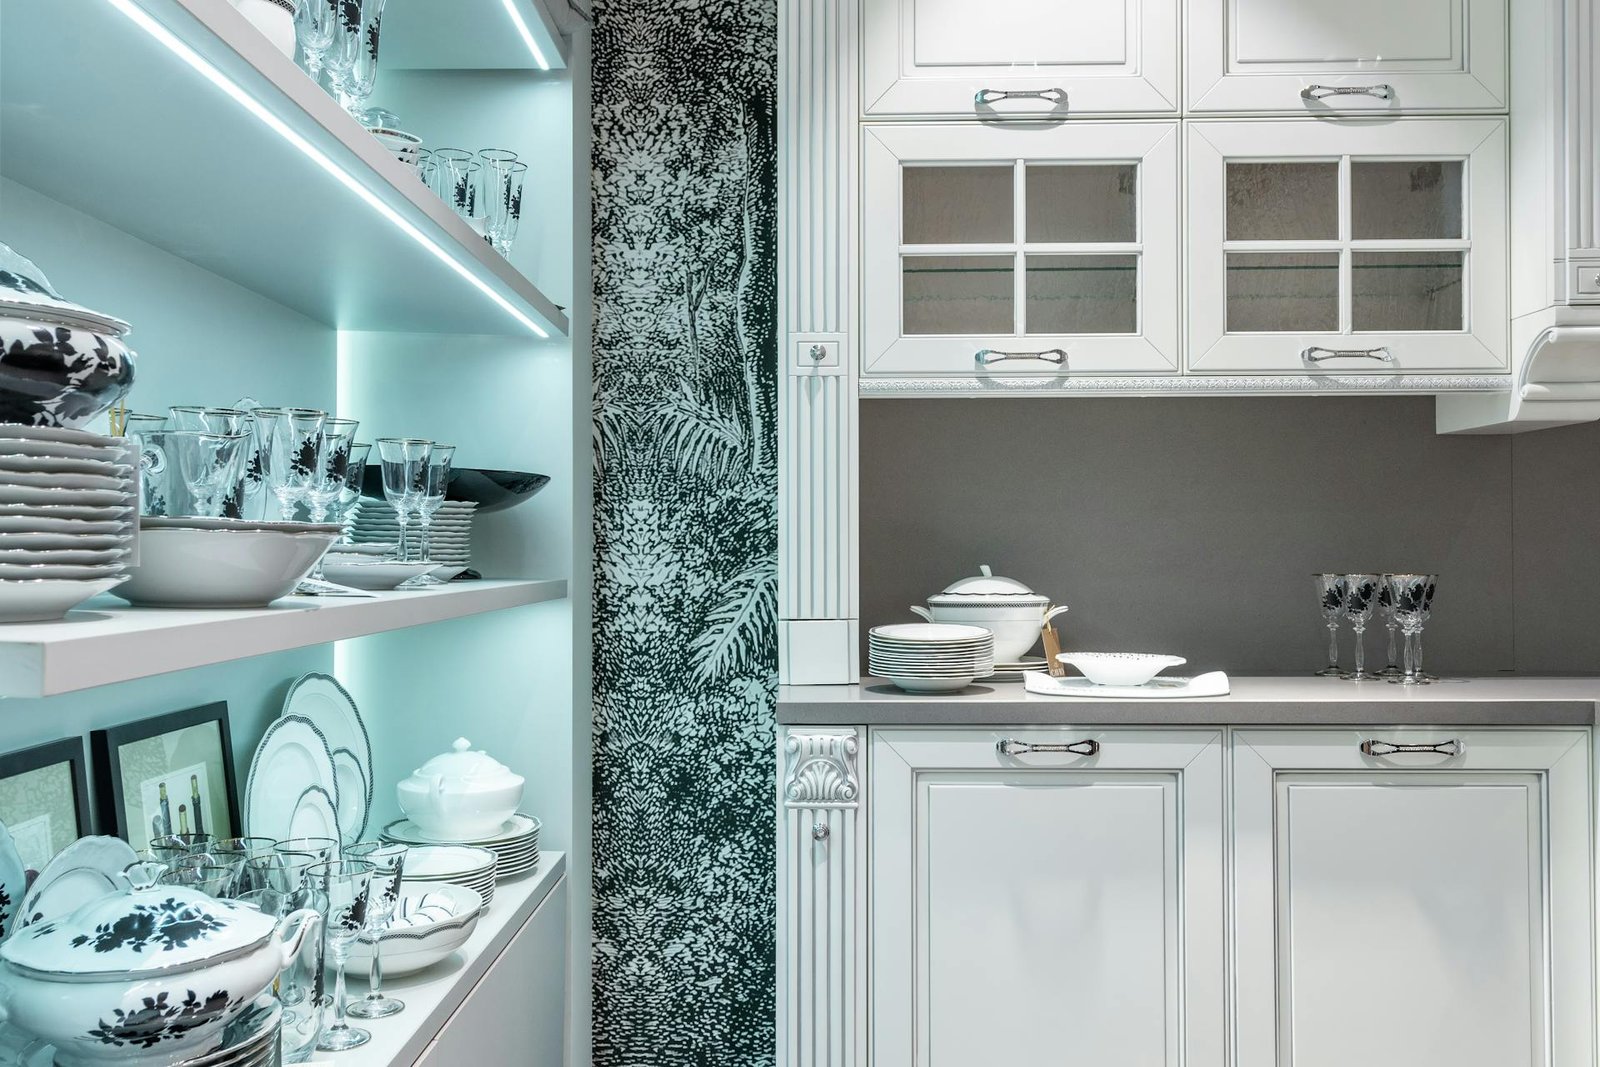
Step 8: Final Touches and Styling
Adding the finishing touches makes your kitchen feel complete, and quite honestly, yours. Install the right handles or knobs that match your style. If you really want to elevate the experience, swap out standard hinges and drawer slides for soft-close versions. They’re a small upgrade that makes a huge difference in everyday use. And don’t forget to take care of your kitchen lighting as well!
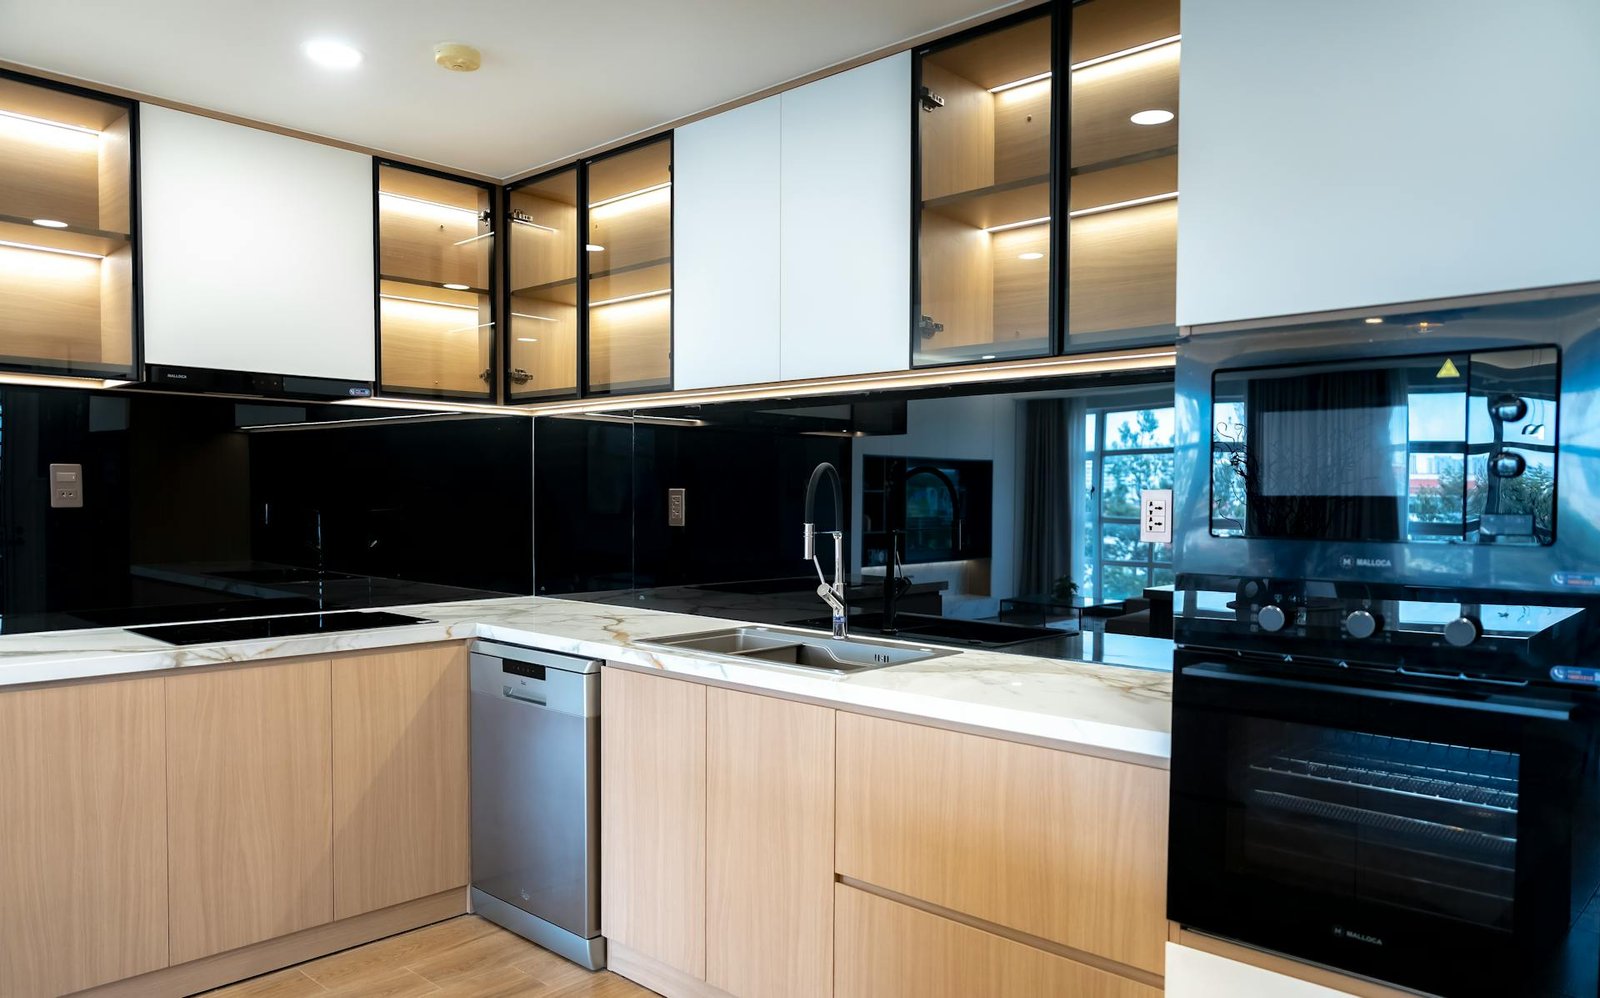
It’s also a good idea to think about the inside of your cabinets, too. This is where organisers, pull-out trays, and custom inserts can seriously upgrade your kitchen storage game. If you’ve got pretty dishes or glassware, consider adding a couple of glass-front doors to show them off. Finally, take a moment to test everything: open and close every door and drawer to make sure they operate smoothly without sticking or bumping into each other. That last quality check ensures your hard work results in a kitchen that’s as functional as it is beautiful.
DIY vs Professional Custom Kitchen Cabinets: Which Is Right for You?
Now that you know how to make custom kitchen cabinets on your own, you’ve probably figured out if you can handle this or not.
When you’re planning to have a kitchen makeover or redesign your kitchen cabinets on your own, your budget, time, and skill level are important factors to consider. DIY cabinets can save a lot of money, but if you’re not skilled enough, you might have to change them after a couple of years and end up spending even more money. For homeowners who are skilled enough, doing it yourself is recommended, but otherwise, you might not finish on time. In the end, you could end up with a kitchen that looks like a child’s handicraft project.
Professional kitchen cabinet makers have years of experience and can create the kitchen of your dreams without you even lifting a finger. When you hire a professional for your kitchen renovation, you can avoid common pitfalls such as misaligned doors, poor finishes, or structural weaknesses. Plus, they can handle complex installations and provide warranties for your peace of mind.
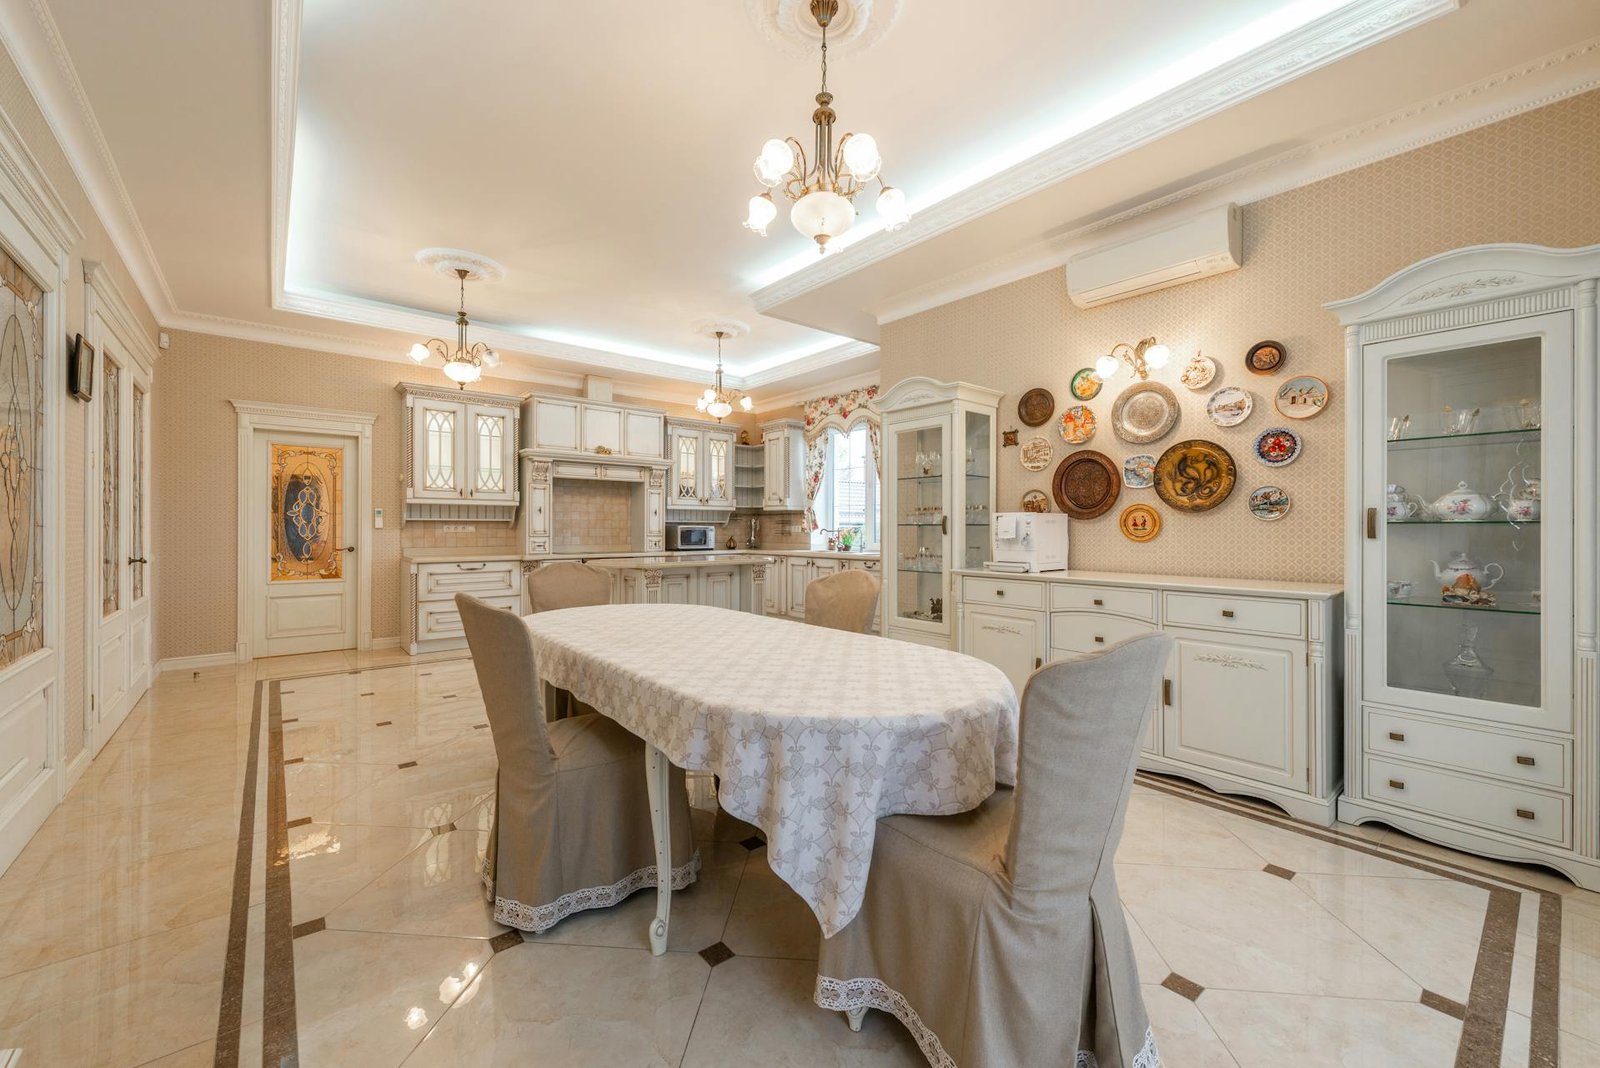
Anyway, building custom kitchen cabinets, with a professional company or as a DIY project, is your choice. If you’re aiming for a flawless kitchen that looks like it came straight out of a magazine, go with a professional. But if you enjoy the process and want to save some cash, you can take it on yourself.
Final Thoughts: How to Make Custom Kitchen Cabinets?
In this article, we went over 8 crucial steps to make your custom cabinets. While you might be equipped with the answer to the question, “How to build custom kitchen cabinets,” it’s really easier said than done. A lot of things can go wrong, and you might get caught in chaos bigger than you can manage.
Instead, you should trust a professional team to do the work for you. We’re well aware that the main question here is, “How much for custom kitchen cabinets?“. But worry not, because Silk Touch Joinery can take care of that problem for you. We have years of experience in building top-notch custom kitchen cabinets that live behind their years. The best part? You’ll get your ideal design, along with free consultations from experts, all the while paying a rate that’s affordable and competitive throughout Melbourne and its surrounding suburbs. To get started with that complimentary consult, give us a call now!